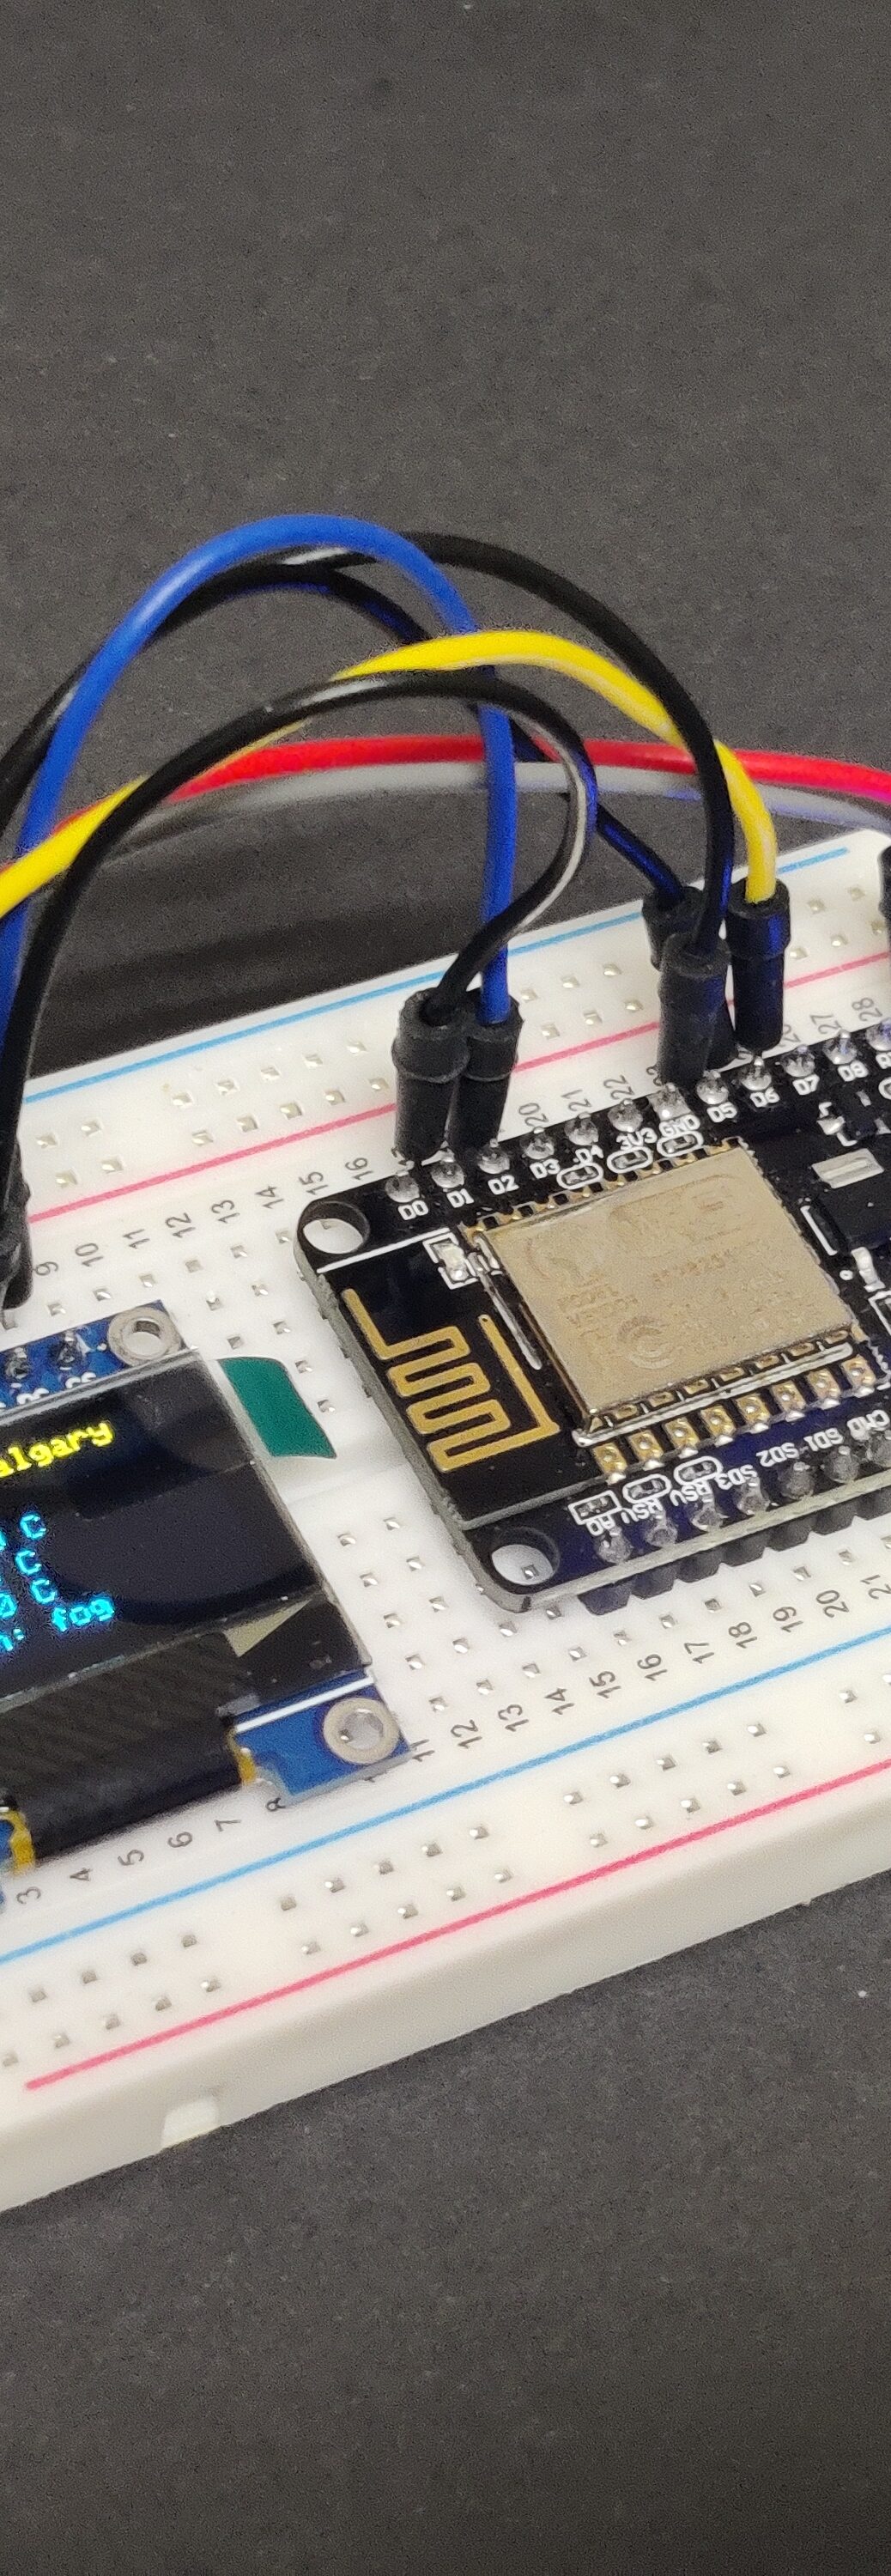
In this article, we’ll walk through how to create a simple weather station using an ESP8266 Wi-Fi module and a 0.96″ OLED display. By fetching weather data from the OpenWeatherMap API, we will display live weather information, including temperature, conditions, and more, right on your OLED display. This project is perfect for beginners in electronics and IoT development.
What You’ll Need:
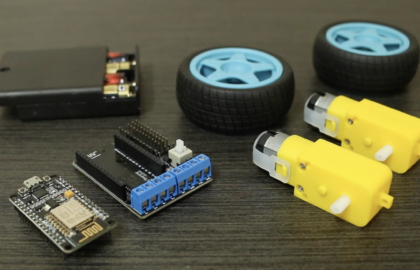
- ESP8266 Wi-Fi Module (e.g., NodeMCU or Wemos D1 mini)
- 0.96″ OLED Display (with SSD1306 driver)
- Jumper wires
- Breadboard (optional, for testing)
- OpenWeatherMap API Key (or any other weather API of your choice)
- Arduino IDE (for programming the ESP8266)
Setting Up the Hardware
- Connect the OLED Display to the ESP8266:
- VCC of the OLED to 3.3V on the ESP8266.
- GND of the OLED to GND on the ESP8266.
- SCL of the OLED to D1 (GPIO5) on the ESP8266.
- SDA of the OLED to D2 (GPIO4) on the ESP8266.
- Install Libraries: Open the Arduino IDE, and go to Sketch > Include Library > Manage Libraries. Then install the following libraries:
- Adafruit SSD1306: For the OLED display.
- Adafruit GFX: A graphics library for OLED displays.
- ESP8266WiFi: To connect your ESP8266 to Wi-Fi.
- ArduinoJson: For parsing the JSON data from the weather API.
- HTTPClient: For making HTTP requests to fetch weather data.
Setting Up the OpenWeatherMap API
- Sign Up: Go to the OpenWeatherMap website and create an account.
- Get API Key: After signing up, navigate to your account dashboard and find your API key. You’ll need this to make API requests.
- City Name: In this example, we’ll use Calgary as the location, but you can change it to any city you like by modifying the code.
Writing the Code
Here’s a simple code to connect to Wi-Fi, fetch weather data from OpenWeatherMap API, and display it on the OLED screen.
#include <ESP8266WiFi.h>
#include <Adafruit_GFX.h>
#include <Adafruit_SSD1306.h>
#include <ArduinoJson.h>
#include <ESP8266HTTPClient.h>

// Replace with your network credentials
const char* ssid = "Wifi name/SSID";
const char* password = "Password";

// OpenWeatherMap API Key and endpoint
const char* weatherAPIKey = "Replace with weather API key";
const char* weatherEndpoint = "http://api.openweathermap.org/data/2.5/weather?q=Calgary&appid="; // Replace "London" with your city

#define SCREEN_WIDTH 128
#define SCREEN_HEIGHT 64
#define OLED_RESET    -1
#define OLED_CS       D2
#define OLED_DC       D1
#define OLED_CLK      D5
#define OLED_MOSI     D7

Adafruit_SSD1306 display(SCREEN_WIDTH, SCREEN_HEIGHT, &SPI, OLED_DC, OLED_RESET, OLED_CS);

void setup() {
  Serial.begin(115200);

  // Initialize the display
  if (!display.begin(SSD1306_SWITCHCAPVCC, 0x3C)) {
    Serial.println(F("SSD1306 allocation failed"));
    for (;;);  // Loop forever if initialization fails
  }

  display.clearDisplay();
  display.setTextSize(1);
  display.setTextColor(SSD1306_WHITE);

  // Connect to WiFi
  Serial.println(F("Connecting to WiFi..."));
  WiFi.begin(ssid, password);

  while (WiFi.status() != WL_CONNECTED) {
    delay(500);
    Serial.print(".");
  }
  Serial.println(F("Connected to WiFi"));

  // Fetch weather data
  fetchWeatherData();
}

void loop() {
  // You can periodically update the weather information if needed
  delay(1000);  // Refresh every 60 seconds
  fetchWeatherData();
}

void fetchWeatherData() {
  WiFiClient client;  // Create a WiFiClient object
  HTTPClient http;
  String url = String(weatherEndpoint) + weatherAPIKey + "&units=metric";  // Add your city and API key

  http.begin(client, url);  // Start the HTTP connection with WiFiClient object
  int httpCode = http.GET();  // Make the HTTP request

  if (httpCode > 0) {
    // If the request was successful, get the response payload
    String payload = http.getString();
    Serial.println(payload);

    // Parse the JSON response
    DynamicJsonDocument doc(1024);
    deserializeJson(doc, payload);

    const char* cityName = doc["name"];
    float temp = doc["main"]["temp"];
    float tempMin = doc["main"]["temp_min"];
    float tempMax = doc["main"]["temp_max"];
    const char* weatherDescription = doc["weather"][0]["description"];

    // Display the weather data on the OLED screen
    display.clearDisplay();
    display.setCursor(0, 0);
    display.print("Weather in ");
    display.println(cityName);

    display.setCursor(0, 20);
    display.print("Temp: ");
    display.print(temp);
    display.print(" C");

    display.setCursor(0, 30);
    display.print("Min: ");
    display.print(tempMin);
    display.print(" C");

    display.setCursor(0, 40);
    display.print("Max: ");
    display.print(tempMax);
    display.print(" C");

    display.setCursor(0, 50);
    display.print("Condition: ");
    display.println(weatherDescription);

    display.display();
  } else {
    Serial.println("Error in HTTP request");
  }

  http.end();  // Close the HTTP connection
}
Code Explanation
- Wi-Fi Connection: The
WiFi.begin(ssid, password)function is used to connect the ESP8266 to your Wi-Fi network. - HTTP Request: The
HTTPClientlibrary is used to make a request to the OpenWeatherMap API. It fetches the weather data in JSON format. - JSON Parsing: We use the
ArduinoJsonlibrary to parse the JSON response and extract key data such as temperature, weather condition, etc. - OLED Display: We use the Adafruit SSD1306 library to display the weather data on the 0.96″ OLED display. The weather information, including temperature and conditions, is displayed in a readable format.
Conclusion
With just a few components like the ESP8266 and an OLED display, you can easily set up a weather station that fetches and displays live weather information for Calgary or any other city. This project is a great introduction to IoT development and gives you a hands-on experience working with APIs, displays, and microcontrollers.
Feel free to modify the code to display additional information or fetch data for different cities. If you encounter any issues, feel free to leave a comment or contact me, and I’ll be happy to help!

