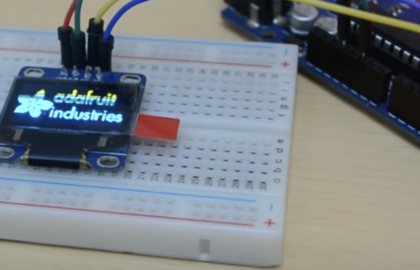
Hi Folks, today I am writing an article and this belongs to my video tutorial O-LED Display with Arduino on youtube. If this article helps you please subscribe to my youtube channel and like our Facebook page.
This article and video will teach you how to display the characters with Arduino. And you can find the Circuit Diagram and Arduino code below the page.
For this OLED Display with Arduino tutorial, I am using
Video for a descriptive step-by-step guide for OLED Display with Arduin
If this article helps you please subscribe to my youtube channel and like our Facebook page for more updates. And you can find the Circuit Diagram and Arduino code below the page.
Arduino Scanner Code to check I2C device
/*
CircuitMagic.com
*/
#include <Wire.h>
void setup()
{
  Wire.begin();

  Serial.begin(9600);
  Serial.println("\nI2C Scanner");
}
void loop()
{
  byte error, address;
  int nDevices;

  Serial.println("Scanning...");

  nDevices = 0;
  for(address = 1; address < 127; address++ )
  {
    // The i2c_scanner uses the return value of
    // the Write.endTransmisstion to see if
    // a device did acknowledge to the address.
    Wire.beginTransmission(address);
    error = Wire.endTransmission();

    if (error == 0)
    {
      Serial.print("I2C device found at address 0x");
      if (address<16)
        Serial.print("0");
      Serial.print(address,HEX);
      Serial.println("  !");

      nDevices++;
    }
    else if (error==4)
    {
      Serial.print("Unknow error at address 0x");
      if (address<16)
        Serial.print("0");
      Serial.println(address,HEX);
    }
  }
  if (nDevices == 0)
    Serial.println("No I2C devices found\n");
  else
    Serial.println("done\n");

  delay(5000); // wait 5 seconds for next scan
}


Your code should say #include .
hi, great tutorial !
one bug i found:
in your I2C_scanner code above in line number 5 it says:
#include
but should be
#include
best
oliver
sorry for the mess 😉
the correction should include the Wire.h header after #include (enclosed in html tags, maybe that’s why it’s also missing in your script as they are reserved characters in html)
#include <Wire.h>
Nice video, I just wanted to let you know I ran into a couple bumps but worked through them. One the I2C scanner is very nice but I needed to add the ” after include to the above sketch. Also there was an additional library needed . Once I installed that it was all good. Thanks for this info it was very good.
I really appreciate the videos you are putting out. I noticed in your source code (at least in Chrome) the filename is missing likely due to the angled brackets being used? I didn’t check source but that’d be my first guess. Anyway thanks again for making great content, hope to see more!
iam getting an error in the code what should i do.Iam getting it as wire.begin(); was not declared in the scope
dont make full upload the proper code #incloude wire . h
#include is missing in the above code
#include “Wire.h”
#include “Wire.h”
Add Wire.h